I am absolutely in LOVE with wood crafts. I recently treated myself to a brand new miter saw. Yes, I'm that weird about wood crafts. I figured I was frequenting Home Depot much too often to have them cut my lumber. But seriously, there is nothing better than the smell of freshly cut wood!
I've added a DIY kit to my Etsy Shop for my reversible holiday blocks and I thought a tutorial online would be a good idea. I decided to do these blocks 1) because they were all over pinterest and I HAD to have them & 2) I needed decorations that I wasn't afraid of Dean playing with. Too many times I've had to rescue glass or ceramic home decor pieces. These wood blocks are 2-year-old-proof. I love it!
DIY kit includes:
~7 pieces of carefully selected wood (pre-sanded for your convenience!)
~Background scrapbook papers
~Vinyl lettering
What You'll Need:
~Foam paint brush
~Paint
~Mod Podge
~Roller pin or Credit Card for smoothing bubbles
1) Prep your working station. I like to work on top of parchment paper. This works especially well when using mod podge!
2) Paint your blocks! Depending on the holidays, I choose either black or white but, you can be as creative as you'd like. Wait at least one hour before you paint a second coat.
3) While your paint is drying, apply vinyl letters to paper backgrounds. Some letters will be slightly bigger than the paper. All you need to do is fold the letter on to the other side. You may choose to use transfer paper but with this particular project, I skip that step. I'm faster without it.
To peel the letters, first start with the corner of the vinyl. You'll remove the dead space vinyl first. This will leave only the letters. Using a cricut spatula or similar tool, lift the letter and place on paper.
4) Once all the vinyl letters are placed on paper, it's time to MOD PODGE! Using the foam brush apply a thin layer of mod podge to back of the paper and place on wood block. Using a small roller or credit card, smooth out any bubbles. Do this to all papers and make sure they've had time to set (about 20 minutes). Next apply mod podge to the top of the papers. Keep your strokes similar and using the same pressure. Let it dry! I like to wait a couple of hours before either adding a second coat or flipping blocks over to apply second holiday.
I hope you enjoyed creating these blocks! If you have any questions or might possibly need a replacement letter or background paper due to accident, let me know :) Mistakes happen!
**pictures & video coming soon!
Showing posts with label Crafts. Show all posts
Showing posts with label Crafts. Show all posts
Monday, September 29, 2014

Saturday, March 9, 2013
Flower Pot Cake
March 9, 2013
This Saturday our ward is having our annual dessert auction. Anyone (but mostly the youth) can bring a dessert, craft or service to auction off. The money is split and given to the young men & young women groups for summer camp. Our ward goes crazy at the auction. We'll have cakes sold for 100s of dollars.
McKenzie & I put our brains & talent together and made flower pot cakes. Pretty, eh?


This Saturday our ward is having our annual dessert auction. Anyone (but mostly the youth) can bring a dessert, craft or service to auction off. The money is split and given to the young men & young women groups for summer camp. Our ward goes crazy at the auction. We'll have cakes sold for 100s of dollars.
McKenzie & I put our brains & talent together and made flower pot cakes. Pretty, eh?

Here's what we did:

Make your cake mix

Line mini cups (found at any fast food ketchup station) on baking sheet

Use pastry bag or ziplock baggie with tip to fill cups with cake mix

We found that the best looking cakes were the cups we filled barely half way with mix

Trace bottom of pot on paper and use for stencil. Use styrafaom on bottom of pot to stick the skewers into. Cover styrafoam with l=plastic wrap then foil and jam in bottom of pan.

Using the same circle stencil, trace cake.

Our layers: Styrafoam, Cake, Chocolate Pudding, Cake, Chocolate Pudding, Graham Crackers

Dyed skewers with food coloring & used gum drops to hold mini cakes on stick

Place "flowers" in the pot
Don't forget to frost your flowers.
My recipe: (makes 2.5 cups)
1/2 cup shortening
1/2 cup butter
4 cups powdered sugar
3 tablespoons milk
1 teaspoon vanilla
Mix shortening & butter until fluffy then add the rest. We added 2 drops of yellow food coloring but, you can add whatever color you desire!
PS. While making all this yummy goodness, I only ate ONE mini cake :) My motivation? Knowing I had to weigh in the next day...
Friday, January 18, 2013
DIY: Turtle Mobile
January 18, 2013
 While searching for baby's mobile, I never found anything I liked...
I saw a cute mobile made of felt animals on Pinterest and decided, "I can do that too!"
Obviously I chose Turtles and went to work.
Using the same fabric from Dean's crib quilt I:
1. Sketched my turtle on paper.
2. Traced the paper on 4 different solid colors (double sided
3. Sketched shell on paper
4. Traced shell on 4 patterned fabrics
5. Pinned shells on turtles & hand sewed a shell on each side of the solid turtles
6. Sewed the two turtle pieces together (by hand)
7. Stuffed each turtle with batting
8. Thread clear fishing wire and tie to mobile top.
(I found the top at the D.I--local thrift store--. I'm not sure what it's original purpose was but, it works just dandy for my mobile)


(Quilt)
Wednesday, December 19, 2012
DIY Changing Pad Cover
December 19, 2012


After MONTHS of searching for the perfect changing pad cover, I was disappointed and came up empty handed. I then came across my answer in blog form... I can MAKE my changing pad cover :)

I only took a picture of my finished product but for step by step instructions, visit the blog below (the only thing different I did was use a single piece of fabric rather than using an accent fabric.)
Now I have a changing pad cover made from the same fabric used on his baby quilt. Dean's nursery will be a perfect color schemed masterpiece :)
I turned this...

into THIS!

Such a fun and easy project! Instead of paying $15+ for a changing pad cover, I only paid for the elastic ($0.97)!
Monday, November 12, 2012
Leaf Pillow
November 12, 2012
On my first day as a free woman, I made a new pillow :) I call it Leaf Pillow...super original, eh?
One: Sew blue fabric to fit pillow
Two: Cut 3 different fabrics into leafs. I drew a template and traced over each fabric and cut.
Three: Place leaves on pillow & hot glue each leaf on with a small dot. Sew on leaves with sewing machine or by hand. I started with machine but switched to hand sewn because the machine was frustrating me...
Four: Stuff pillow into case and sew that baby up!

On my first day as a free woman, I made a new pillow :) I call it Leaf Pillow...super original, eh?
One: Sew blue fabric to fit pillow
Two: Cut 3 different fabrics into leafs. I drew a template and traced over each fabric and cut.
Three: Place leaves on pillow & hot glue each leaf on with a small dot. Sew on leaves with sewing machine or by hand. I started with machine but switched to hand sewn because the machine was frustrating me...
Four: Stuff pillow into case and sew that baby up!

Saturday, September 29, 2012
Dollar Tree Autumn Decoration
Goal: Make a fall fireplace decoration
Budget: $5

Here's how I did it
1. Hit up Dollar Tree & bought:
~2 strands of fall foliage
~3 frames
I already had the mod podge, candles & metal pumpkin and I picked up the pine cones during one of my walks with Bruce.

2. Remove the backs of the frames & glass. Using a hot glue gun, quickly glue down the glass to the frame.

3. Cut desired amount of leaves from fall foliage strand & Mod Podge the fronts of the leaves. Place the leaves face down on the back of the glass. Using a brush or fingers, spread a thin layer of Mod Podge over the entire glass. This will make a cool stain glass texture and will hide any imperfections. Dry overnight.

4. Hang or set your new fall frames!
Initially I wanted to hang the frames but, since we're moving, it didn't make sense to make holes in the wall that I'd have to fill in a few weeks later... :)

Simple, cheap & fun!
Monday, September 3, 2012
Gender Reveal Pinata
With the family all gathered together for our yearly trip to Nephi, I decided to make it special. I knew I'd be finding out Baby Hess' gender a few days before so I started planning for a fun reveal-- a pinata.

Here's what I did:




Here's what I did:
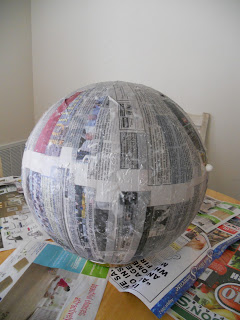
1. I used a punch balloon (found at Walgreen's 2 for $1), newspaper & paper mache "glue" (equal parts water and flour)

2. Cover balloon and let it dry completely. This process took me a couple of weeks because I wanted to do a ton of layers to make the pinata harder to break.

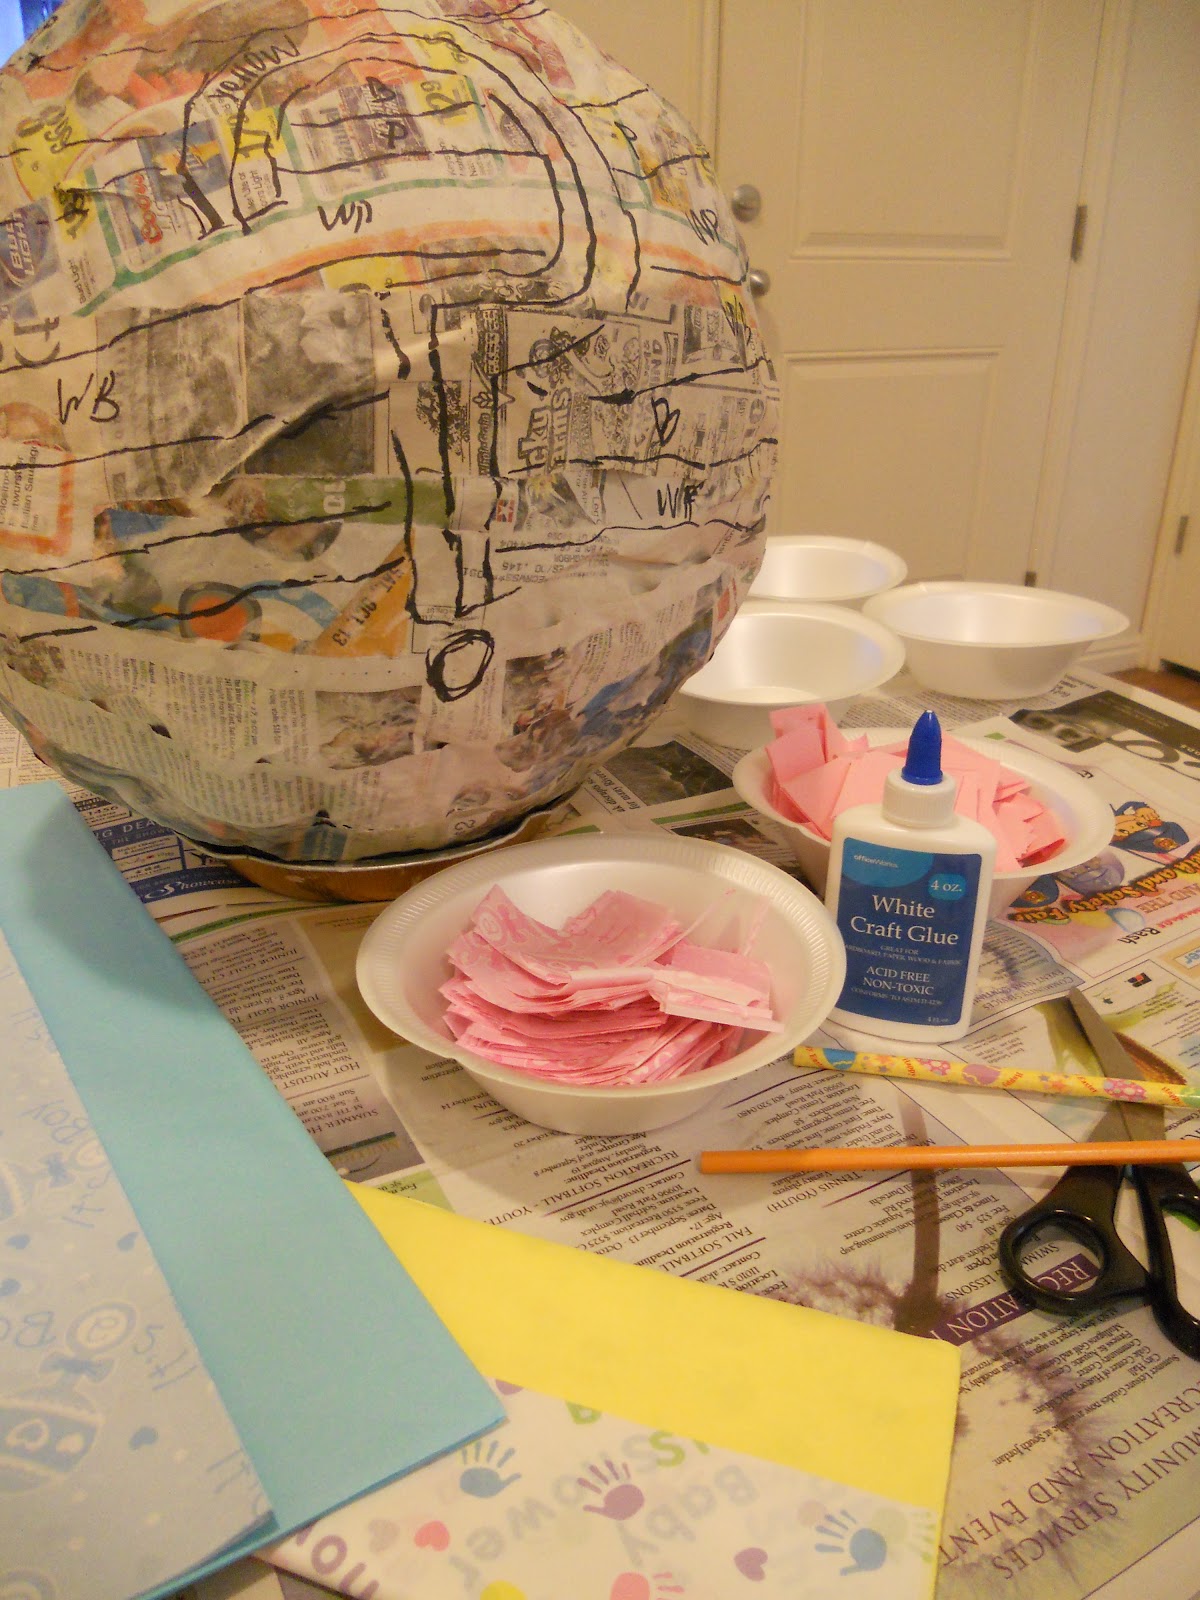
3. After all the layers were dry, I drew a rough outline on the pinata for the tissue paper (used 10-16 sheets, found at dollar tree 8 sheets for $1)
Calin and I spent the day watching Supernatural and gluing on the blue, pink & yellow tissue paper
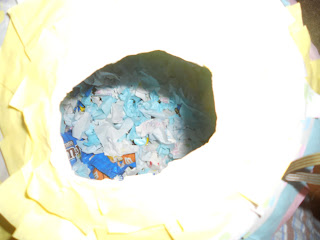
4. After finding out we were having a boy we hit up the nearest Winco for candy. It was surprisingly difficult to find blue candy. We used: Crunch bars, Pretzel M&Ms, blue salt water taffy & blue Jolly Ranchers. We used the remaining blue tissue paper as confetti too.


September 1, 2012
watch the family find out . . .
(please excuse my mother's crazy video tapping abilities)
Thursday, August 23, 2012
Button Tree Wall Art
Inspired by a blog found via Pinterest, I crafted my own button tree this week!

Jodi's story (click here) was beautifully serendipitous. At the end of her post she told readers that she was no longer making & selling these works of art anymore...(sad face!) BUT she declared that anyone can make them. So, I said to myself, "Yes! Yes, I can make one too!"
I am no artist and I would say my button tree is kindergarten compared to Jodi's masterpieces. However, I am very happy and proud of my kindergarten wall art :) It is proudly hanging on my living room wall.
Big thanks to art by wiley! You inspired me :)

Jodi's story (click here) was beautifully serendipitous. At the end of her post she told readers that she was no longer making & selling these works of art anymore...(sad face!) BUT she declared that anyone can make them. So, I said to myself, "Yes! Yes, I can make one too!"
I am no artist and I would say my button tree is kindergarten compared to Jodi's masterpieces. However, I am very happy and proud of my kindergarten wall art :) It is proudly hanging on my living room wall.
Big thanks to art by wiley! You inspired me :)
Thursday, July 19, 2012
Flower Pillow
I've seen flower pillows at all the stores & each time I reach for one I flinch at the price. How can one stinkin' pillow cost so much?!
I decided to make my own and here's how I did it.
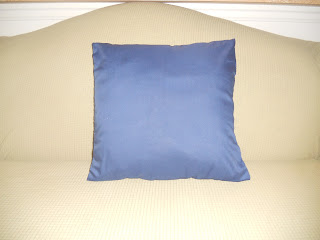
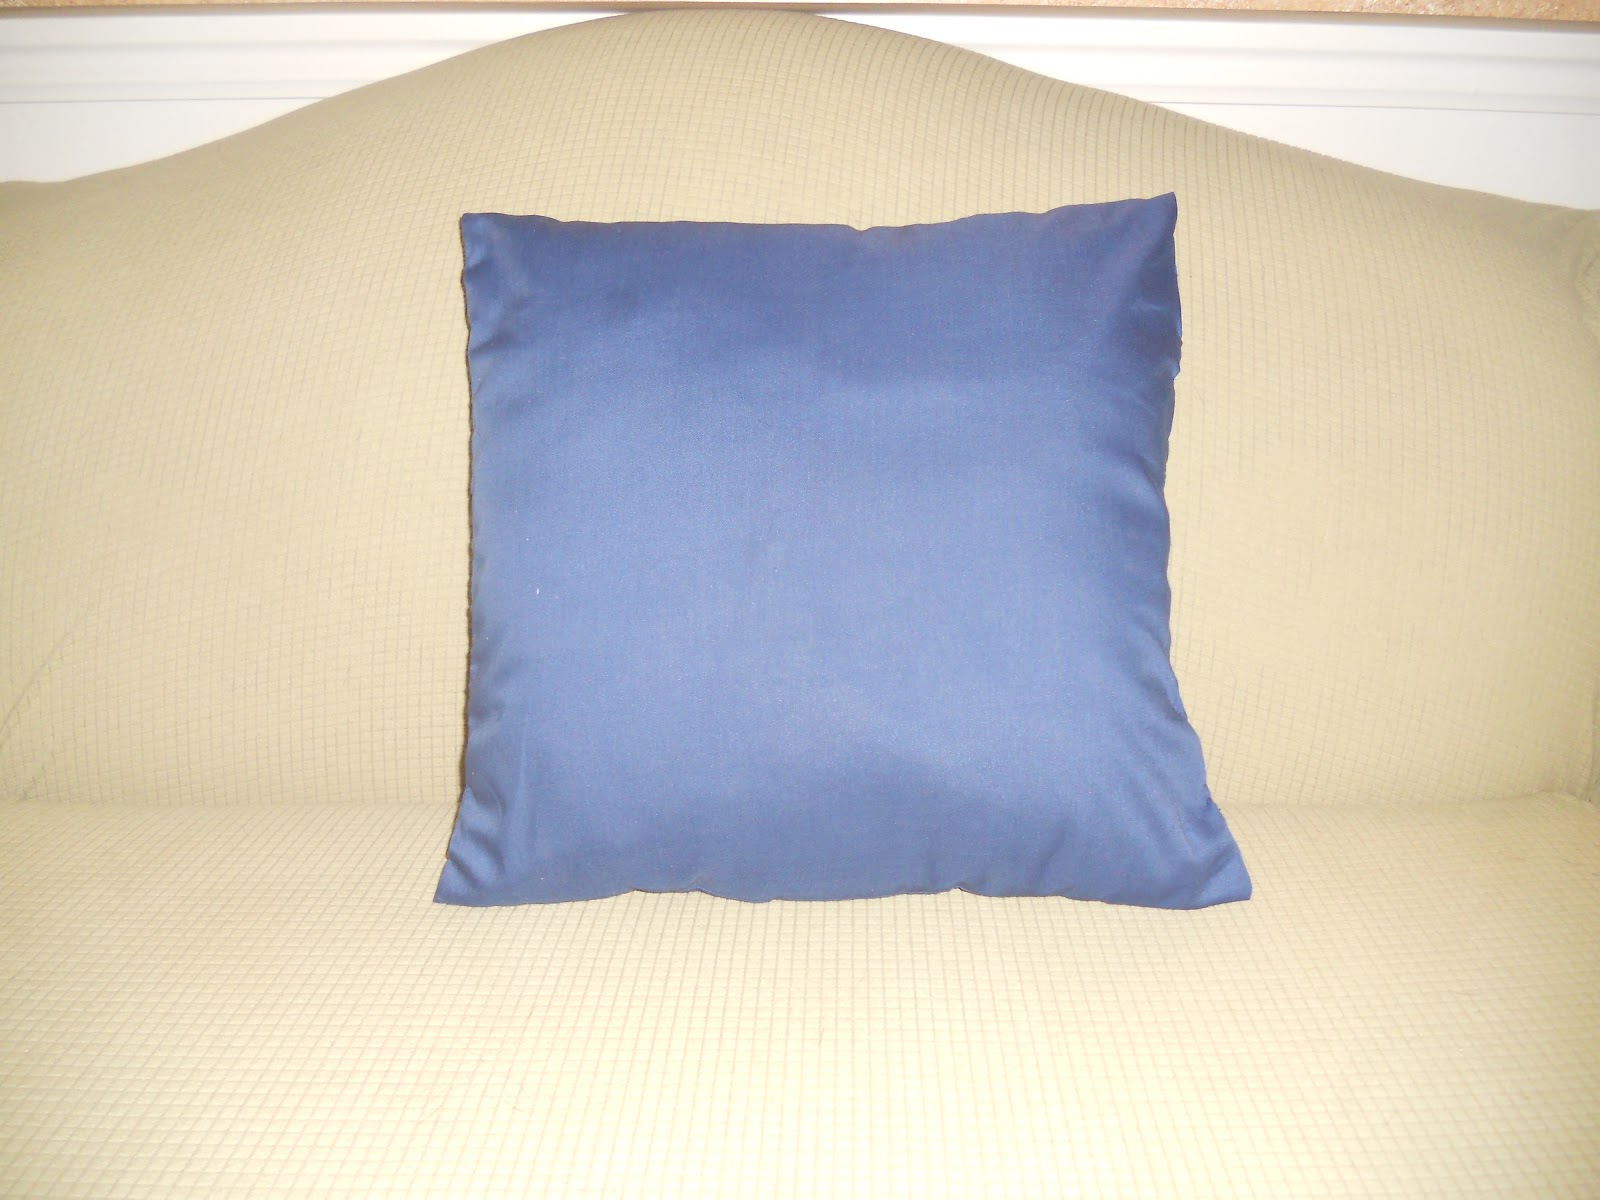
1. Covered an existing pillow with my choice of blue fabric
2. Cut half moon shapes from white fabric

3. Start from the outside and place half moons in a circle. I hot glued a dot (on the straight edge) to keep them in place. Going around the circle, I stitched them by hand. This was a long process but, worth it in the end.

4. For the middle, I cut 4 circles (used a drinking glass as a guide). I gathered the circles from the middle and stitched them onto the pillow.
Ta da! The final product was definitely worth a Saturday in front of the TV (sewing, of course!)

I decided to make my own and here's how I did it.
1. Covered an existing pillow with my choice of blue fabric
2. Cut half moon shapes from white fabric

3. Start from the outside and place half moons in a circle. I hot glued a dot (on the straight edge) to keep them in place. Going around the circle, I stitched them by hand. This was a long process but, worth it in the end.

4. For the middle, I cut 4 circles (used a drinking glass as a guide). I gathered the circles from the middle and stitched them onto the pillow.
Ta da! The final product was definitely worth a Saturday in front of the TV (sewing, of course!)

Subscribe to:
Posts (Atom)