Showing posts with label Food. Show all posts

Monday, April 15, 2013

Three Month Plan- Stocking up for Winter

April 15, 2013

Although I am currently living in my parent's basement (sigh...) I still felt it was important to build my own food storage. So, with limited storage space, I started my must have list. Aside from food storage staples (flour, sugar, rice, oats, etc...), I started stocking up on items I'd need in a new home (toilet paper, dish soap, paper towels, laundry detergent, etc...)


I made a 3 month plan because I thought I would be out of my parents by May. Well, with two offers on two houses, that dream still might be attainable but...we'll see.

If we don't have a home my the end of May, I'll:
1. Cry (a lot)
2. Make my 3 month plan into the Four Month Plan :)

Here is my 3 Month Plan


Notice that I didn't just go out and buy what I needed. I created a spreadsheet (my favorite thing in the world) to compare prices for each item at 4 different stores.


A picture tribute to my stash in the closet under the stairs...


Saturday, March 9, 2013

Flower Pot Cake

March 9, 2013

This Saturday our ward is having our annual dessert auction. Anyone (but mostly the youth) can bring a dessert, craft or service to auction off. The money is split and given to the young men & young women groups for summer camp. Our ward goes crazy at the auction. We'll have cakes sold for 100s of dollars.

McKenzie & I put our brains & talent together and made flower pot cakes. Pretty, eh?


Here's what we did:

Make your cake mix

Line mini cups (found at any fast food ketchup station) on baking sheet

Use pastry bag or ziplock baggie with tip to fill cups with cake mix

We found that the best looking cakes were the cups we filled barely half way with mix

Trace bottom of pot on paper and use for stencil. Use styrafaom on bottom of pot to stick the skewers into. Cover styrafoam with l=plastic wrap then foil and jam in bottom of pan.

Using the same circle stencil, trace cake.

Our layers: Styrafoam, Cake, Chocolate Pudding, Cake, Chocolate Pudding, Graham Crackers

Dyed skewers with food coloring & used gum drops to hold mini cakes on stick

Place "flowers" in the pot

Don't forget to frost your flowers.

My recipe: (makes 2.5 cups)
1/2 cup shortening
1/2 cup butter
4 cups powdered sugar
3 tablespoons milk
1 teaspoon vanilla

Mix shortening & butter until fluffy then add the rest. We added 2 drops of yellow food coloring but, you can add whatever color you desire!

PS. While making all this yummy goodness, I only ate ONE mini cake :) My motivation? Knowing I had to weigh in the next day...


Friday, September 14, 2012

Week 22

September 14, 2012

This week Calin & I got to go to the Utah State Fair, yay! 
The saying, "you always want what you can't have" is SO true... I was itching to ride the Tilt-a-Whirl, flour sack slide & Tidal Wave. 
As soon as this baby pops out, I'm riding the nearest roller coaster :)

The nick-name "Turtle" was created because I am working on Dean's nursery and turtles have been my inspiration. I'll post my cute turtle crafts soon :)


Me & Hubby in front of all the side show posters


mmm...lemonade :)


Yes, that IS a sculpture made of ALL butter...


We ate corn dogs, chili cheese fries AND (wait for it...) A FRIED SNICKERS BAR! I'll be working that off for a couple of days. Good thing we shared this one because I don't think I would have been able to down one by myself.


Thanks Honey for a fun date night! Love you more than a fried snickers :)


Thursday, August 16, 2012

Banana Bread

What you'll need:
2 cups all-purpose flour
1 teaspoon baking soda
1/4 teaspoon salt
1/2 cup butter
3/4 cup brown sugar
2 eggs, beaten
2 1/3 cups mashed overripe bananas
1/4 cup cinnamon & sugar mixture


What to do:
1. Preheat oven to 350 degrees F (175 degrees C). Lightly grease a 9x5 inch loaf pan with butter. Coat pan with cinnamon & sugar mixture. 


2. In a large bowl, combine flour, baking soda and salt. In a separate bowl, cream together butter and brown sugar. Stir in eggs and mashed bananas until well blended. Stir banana mixture into flour mixture; stir just to moisten. Pour batter into prepared loaf pan. Sprinkle desired amount of cinnamon & sugar on top.


3. Bake in preheated oven for 60 to 65 minutes, until a toothpick inserted into center of the loaf comes out clean. Let bread cool in pan for 10 minutes at an angle, then turn out onto a wire rack.


I learned this trick (angling bread on wire rack) from my oh-so-clever cousin Beth. She has the coolest blog ever! http://lizeatsfood.blogspot.com/
The bread literally slid out of the pan


Unfortunately we dove into the bread before I could take a final product picture. Between us, the bread was AMAZING :)


Saturday, August 4, 2012

Freezer Meals...the beginning

I was inspired by fellow bloggers and my financial needs this month to be frugal. With car insurance & student loan payments starting in August my budget was super tight. After mulling it over I decided that with diligent ad study, smart consumerism & detailed planning, I could feed my family for one month with only $100.

In order to accomplish this I decided to make freezer meals! Here is my list of meals:
Spaghetti (4 meals)
Teriyaki Chicken (2 meals)
Chicken & Bean Chili (3 meals)
Slow-Cooked Beef Fajitas (2 meals)
Chicken Pot Pie (4-5 meals)
Chicken Enchiladas (2 meals)
BBQ Pork (2 meals)
Breakfast Burritos (10 count)

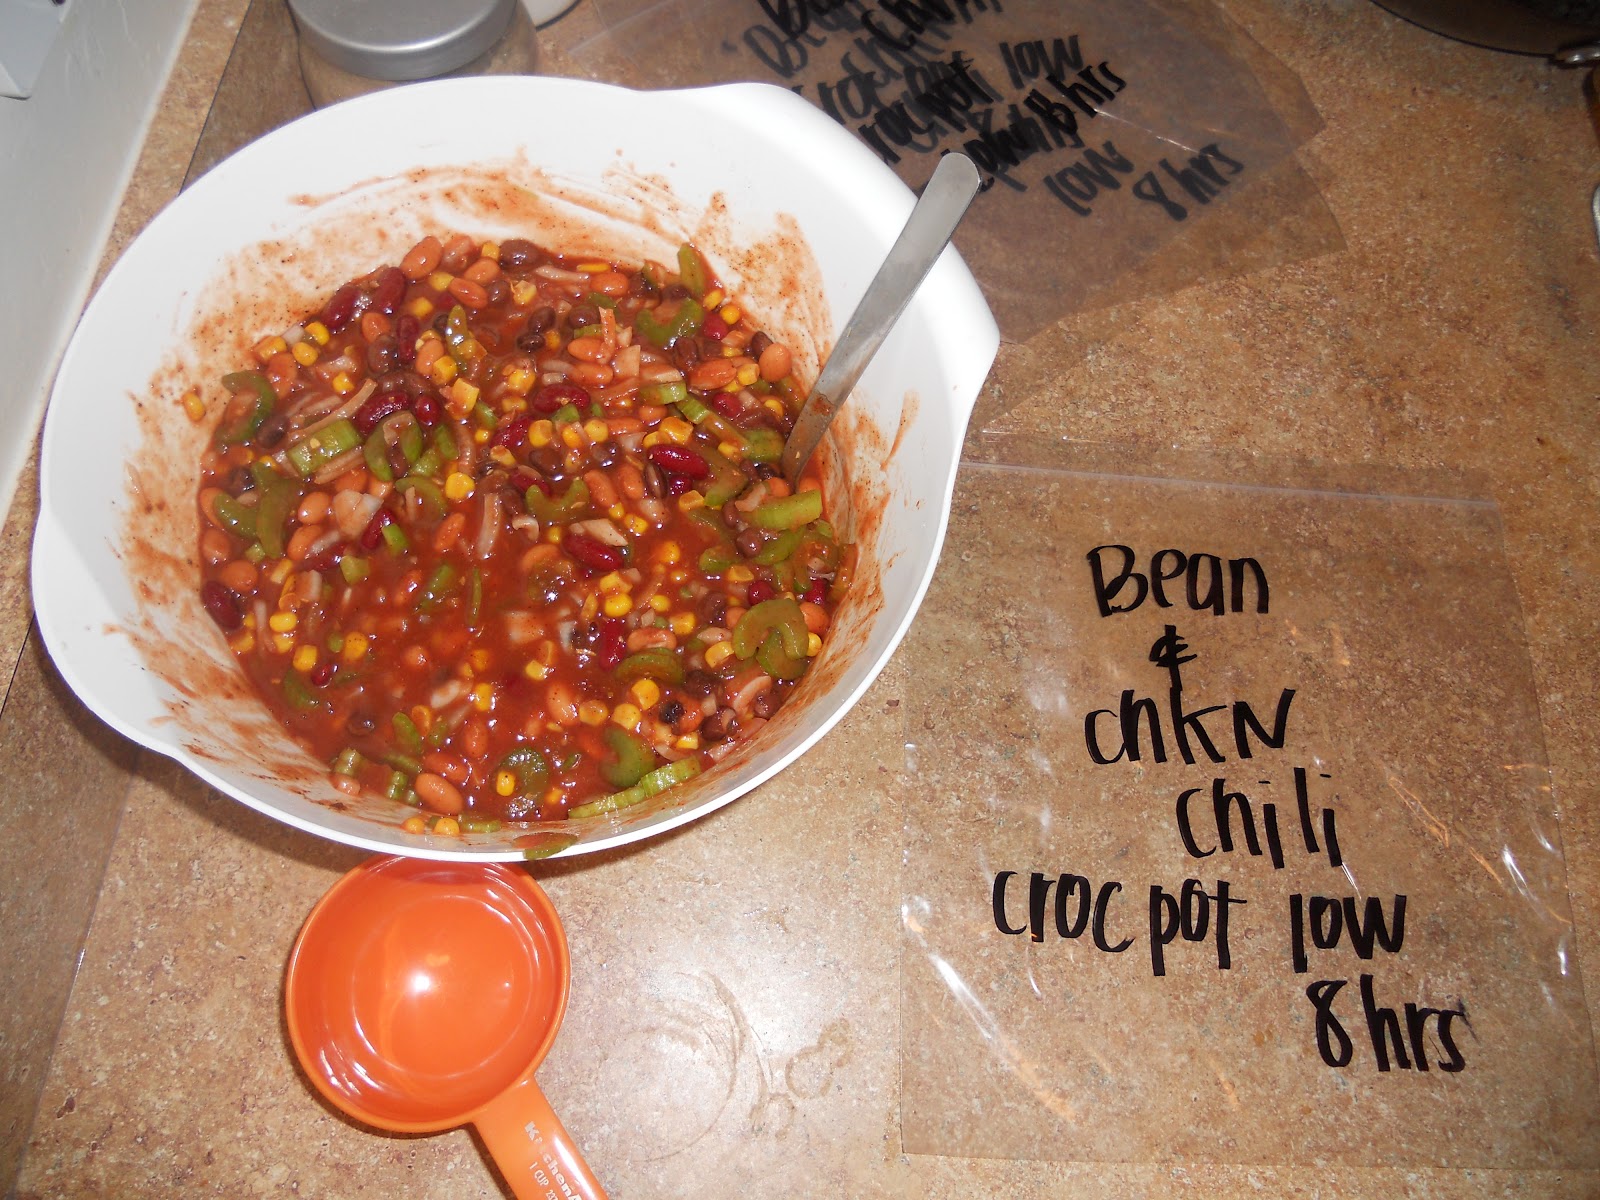
{Each bag was labeled}

I will post the recipes next month because I want to make sure they actually work out and taste yummy :) 

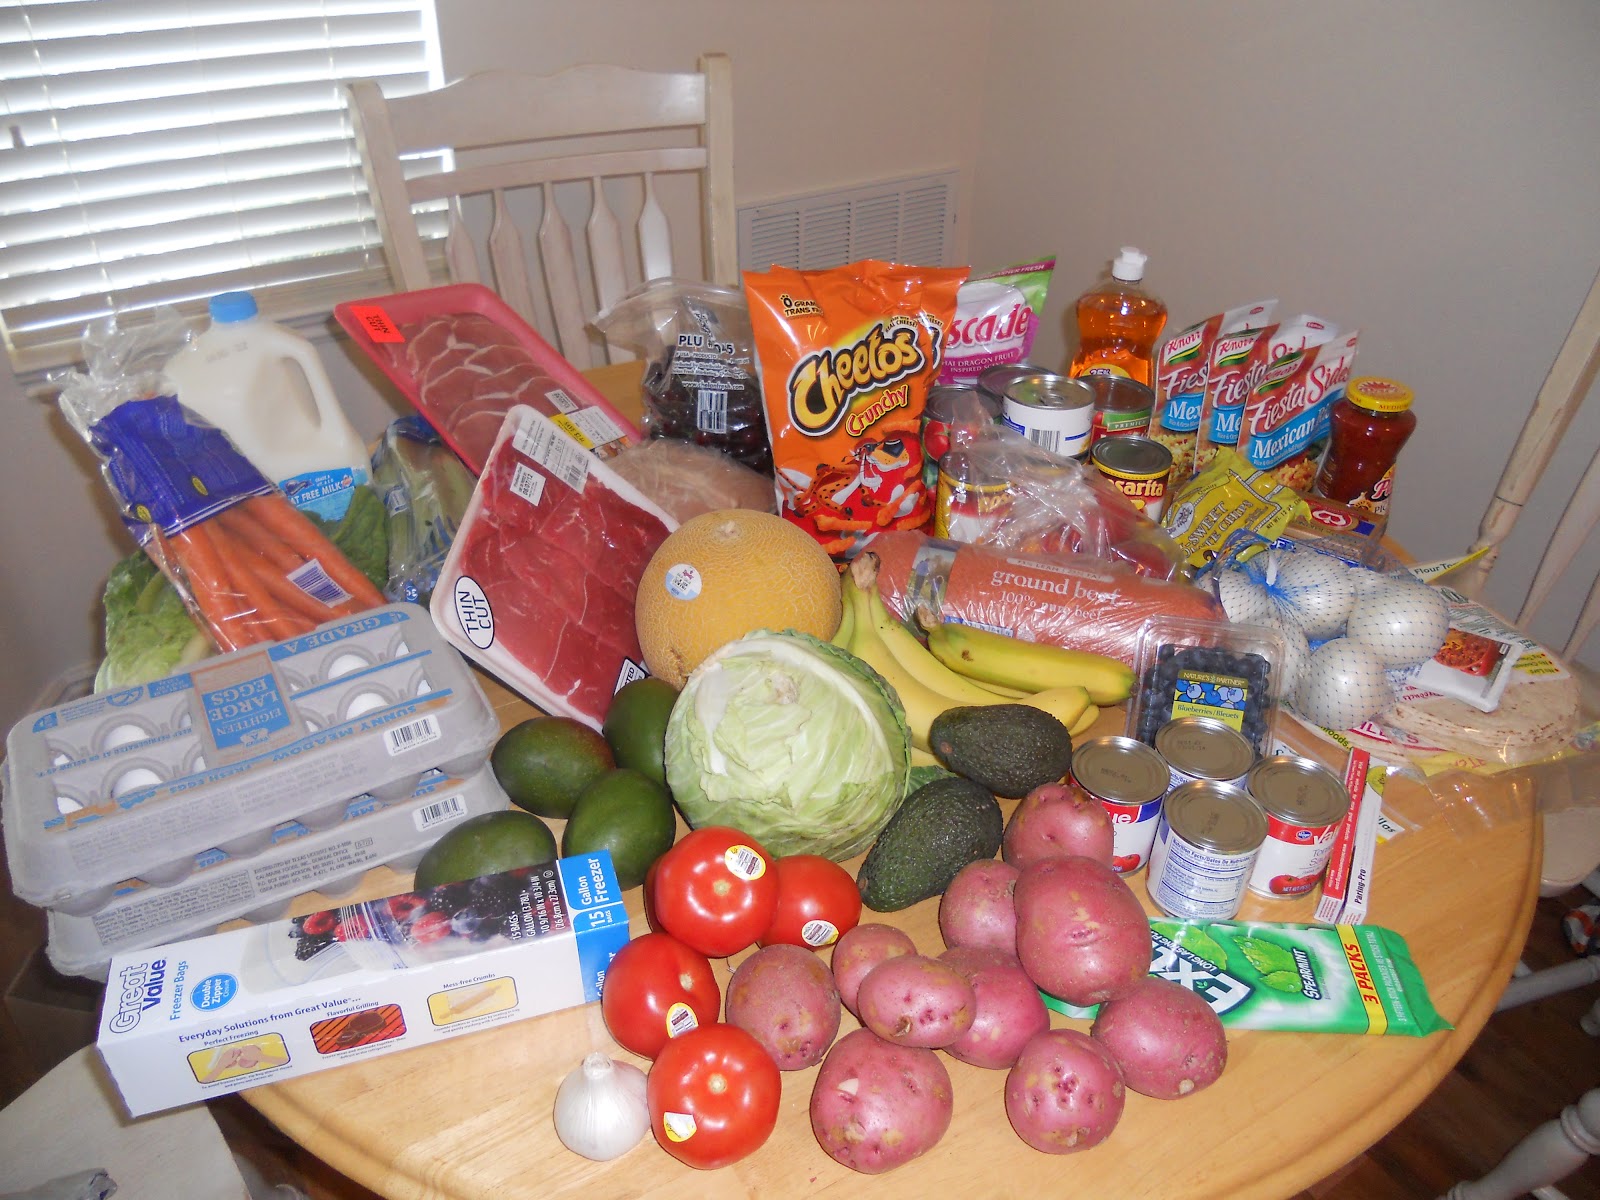
Using the local store ads I complied my spreadsheet to price match at WalMart. 

For most of the veggies, I bought a Bountiful Basket for only $15. If you'd like to know more about how awesome Bountiful Baskets are, click the link. 

Calin & I hit the store bright and early Saturday morning. What we couldn't price match at WalMart we bought at Smith's.


The total of my receipts (minus a few misc & household costs)
  $64.59

I made sure to leave some wiggle room for milk, cereal, bread & any pregnancy cravings throughout the month.Using a few items from my pantry, we were ready to start cookin'!


I used notes to keep track of when to check on different foods. Cooking a bunch of meals at one time is definitely not easy!


Filling the pot pies.


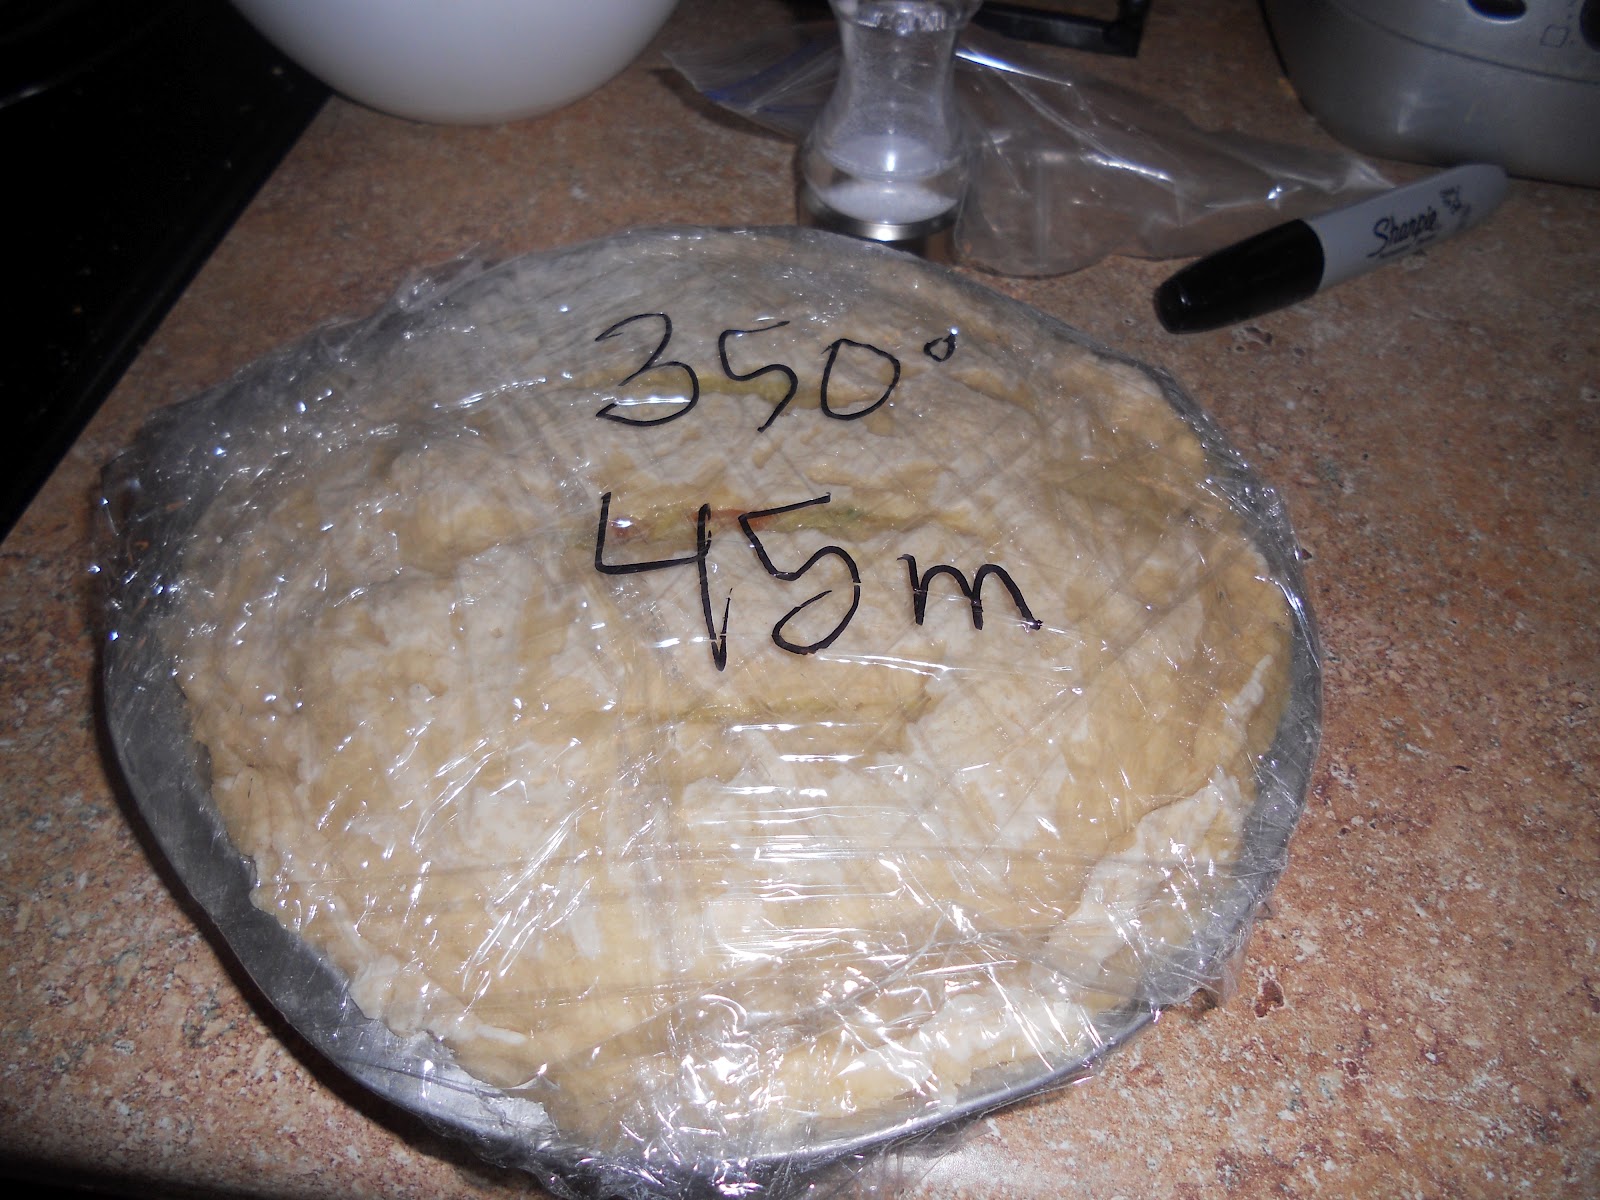
It is important to write how to finish cooking your meals :) 

This is one of the pot pies


I used my lemonade pitcher to hold up the bags. Otherwise I would have needed at least 3 hands.
This picture was taken before I was completely finished with all the meals. Pretend there are 3 more pies, 2 enchilada meals & 10 breakfast burritos :)


Calin was such a HUGE help today! He ventured where no husband would dare venture :) Price match shopping at Walmart, cooking, frying, stewing, chopping & baking... ALL DAY LONG. Thanks Honey! You are the greatest husband and will be an amazing daddy

We started at 8:30am & finished up around 7pm

Tired feet & a sore back but a month's worth of meals finished and ready to be eaten!